10 Simple Steps to Set up your FBA Business
Are you ready to start your own Amazon FBA business? Here are ten steps you can take to start building your FBA business.

1. Create an Amazon Seller Central account
Click on the following link: Amazon Seller Central
You can either sign up as an “Individual” or a “Professional.” When you sign up as an “Individual,” you will not be charged a monthly subscription fee.
If you’re looking to build a long-term business, we suggest sign up as a “Professional.” The first month is free, and after that, it’s US$39.99 per month plus selling fees.
2. Find an Amazon product niche
This is one of the most important steps. Find a popular product category, do competitive analysis, study product reviews and identify a product you can improve or sell at a better price. Doing your research is imperative.
3. Decide on Strategy – Private Labelling or Retail Arbitrage
With private labelling you can either establish a brand or label and apply it to your product. This tends to be more expensive upfront and also a time-consuming option, but you can build an asset that can later be sold. For an existing e’commerce retailer this is a good option.
Or you can engage in retail arbitrage. This is where you buy a product with an existing brand name and flip it on Amazon for a profit, which is an easier option to make money in the short-term. We think for a newcomer, this is the better option.
4. Find a supplier
Once you know what products you’re going to be selling, start building a working relationship with a reliable supplier. Ask for a sample to make sure it’s a quality item, work out the lead time and calculate what kind of margin you have on your products. It is always great if you can get the supplier to make an exclusive product to reduce copycat marketers.
You can’t make money if you don’t have products in stock, so make sure the time delay between placement and delivery of the order is as short as possible. Your best-case scenario is if you can source a few back-up suppliers in case of an emergency.
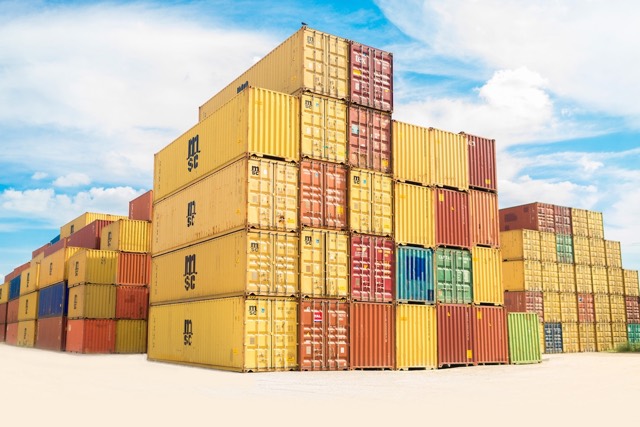
After you set yourself up with the right factory, you then need to research whether the product should be shipped via air or via ocean cargo ships (shipping is generally the cheaper option).
5. Create a listing for your product (not “live” yet)
Optimise your product page with the right keywords and content before you go “live”. Take high resolution photos of your products professionally to improve the attractiveness of your listing.
6. Prepare and ship the items to send to Amazon’s warehouses
Make sure your products are “e-commerce ready,” so the products can be safely transported. You can source supplies from Amazon including polybags, boxes, stretch wrap, and bubble pack, etc.
You will need the following items:
- A computer, printer, shipping tape and potentially a scale to weigh your item.
- A smartphone is also handy for Amazon’s scanning tool, which helps calculate the average costs of products you're thinking of selling.
- Small parcel deliveries (SPDs). These are units packed in individual boxes and individually labeled for delivery.
- Less than truckload/full truckload (LTL/FTL). This type of shipment combines individual boxes on pallets for delivery.
- Amazon shipping label. You need to print this out to use on your product box should you go with an Amazon-partnered carriers.
Using an Amazon-partnered carrier is the easiest option, otherwise you have to make delivery appointments. Plus they are seriously discounted. One issue is this option is only available in the US.
After you’ve completed your shipment, give your box to your scheduled Amazon partnered pick-up driver or take the package to the local carrier of your choice. You can cancel up to 24 hours after approving the charges.
7. Amazon unpacks and stores your inventory for you
Sometimes your inventory is split to 2-3 fulfilment centres, but if you ship more than 18 units at a time it will usually go to 1 warehouse.
If you have less than 18 units and still don’t want to pay extra delivery for the split shipments you can sign up for the Inventory Placement Service. A per-unit service fee applies and the fulfilment centre destination is still determined by Amazon, based on their algorithm for demand.
8. Your product shows up live on Amazon.com and is featured as a Prime Eligible purchase (2 days delivery time in the US)
You are automatically eligible for Prime if you use FBA, so you already have an advantage over non-Prime listings.
With an Amazon FBA business, you get the same internet real estate as other Amazon items to use as your “website” to sell your items through. Amazon FBA business benefits from the traffic Amazon gets and is fantastic at bringing in organic traffic from the web, which can then drive significant sales your way.
If your product starts selling really well, it can trigger an Amazon algorithm which will promote your product to buyers throughout their website via “Related Products” or by being the “Best of” in a certain category. There is also a “People who bought this product also bought this” category where your product could be featured.
9. Amazon Prime buyer places an order from you
Amazon Prime membership allows your customers to benefit from free shipping. This is fantastic, because online shoppers respond really well to free shipping. Offering product discounts is not an option on Amazon, so this is a great incentive for you to attract customers.
10. Amazon warehouse finds and ships your product to the client within 2 days for Prime member customers
You also receive payment by periodic bank transfers to the seller’s account. Usually payments are deposited every 14 days. You can work around Amazon’s bi-weekly payments by request, but it needs to be approved. More on this in our post on FBA costs.
There is so much to learn about selling on Amazon.
From how to set up your business for success to insider tips and tools, these guides cover every aspect of starting and building a business in the worlds biggest marketplace.


